
The Domain Name System (DNS) is an essential component of the internet, translating human-readable domain names into IP addresses that computers can understand. DNS cache is the record of recent website visits that a Mac computer stores to improve its speed and performance. However, an outdated or corrupted DNS cache can cause issues with website loading, and clearing it can be a quick and easy solution. In this article, we’ll go through the step-by-step process of how to flush DNS cache in Mac, as well as why and when to do it.
There are a few ways to flush your DNS cache in Mac. Here are two methods:
Method 1:
Steps to Flush DNS Cache in Mac:
Step 1: Launch the Terminal Application The Terminal app is the command-line utility in macOS that allows you to access system-level functions, including DNS cache clearing. You can find it in the Utilities folder within the Applications folder or use Spotlight to search for it.
Step 2: Enter the Command to Clear the DNS Cache Once you’ve opened the Terminal app, you can enter the following command to clear the DNS cache:
sudo dscacheutil -flushcache; sudo killall -HUP mDNSResponderThis command will flush the DNS cache and reload the mDNSResponder.
Step 3: Enter Your Computer’s Password After entering the command, the Terminal will prompt you to enter your computer’s password. Type in your password and press Enter.
Step 4: Confirm That DNS Cache Has Been Cleared After entering your password, the Terminal will clear the DNS cache, and you’ll receive a confirmation message. You can then close the Terminal app.
When to Clear DNS Cache in Mac: There are several instances where clearing DNS cache can be useful. For example, if you’re experiencing slow or unresponsive internet connection, unable to connect to a specific website, or you’ve updated DNS records. Clearing the DNS cache in Mac can fix these issues by removing outdated or corrupted entries.
There are a few ways to clear your DNS cache in Mac. Here are two methods:
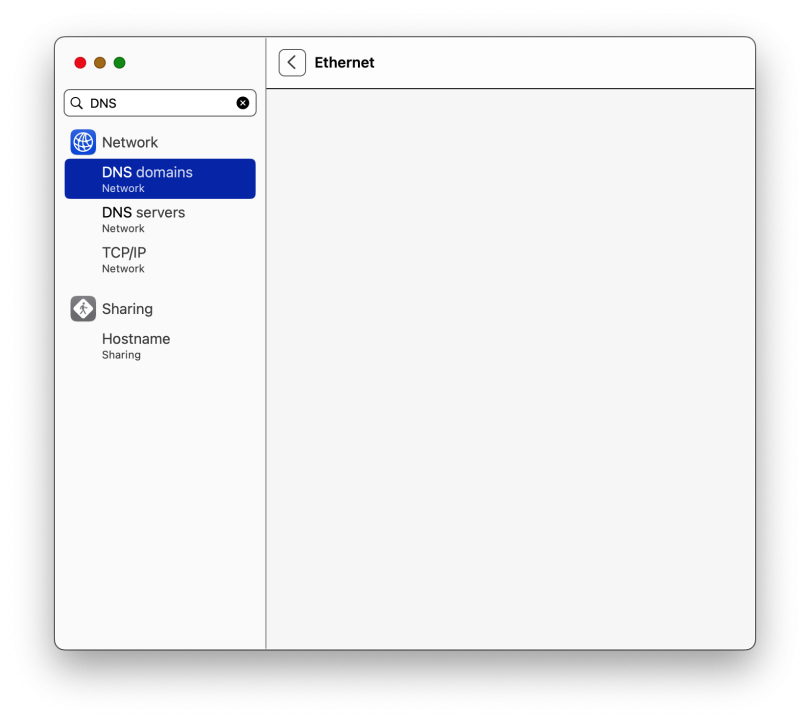
Method 2:
- Open System Preferences.
- Click on Network.
- Click on the Advanced tab.
- Click on the DNS tab.
- Click on the Clear Cache button.
Conclusion: Clearing the DNS cache in Mac is a simple yet effective solution for fixing internet connection issues. By following the steps outlined in this guide, you can quickly clear the DNS cache on your Mac computer, allowing for a faster and more efficient browsing experience. Remember to only clear DNS cache when necessary and check if it resolves your issue before moving to other troubleshooting methods.